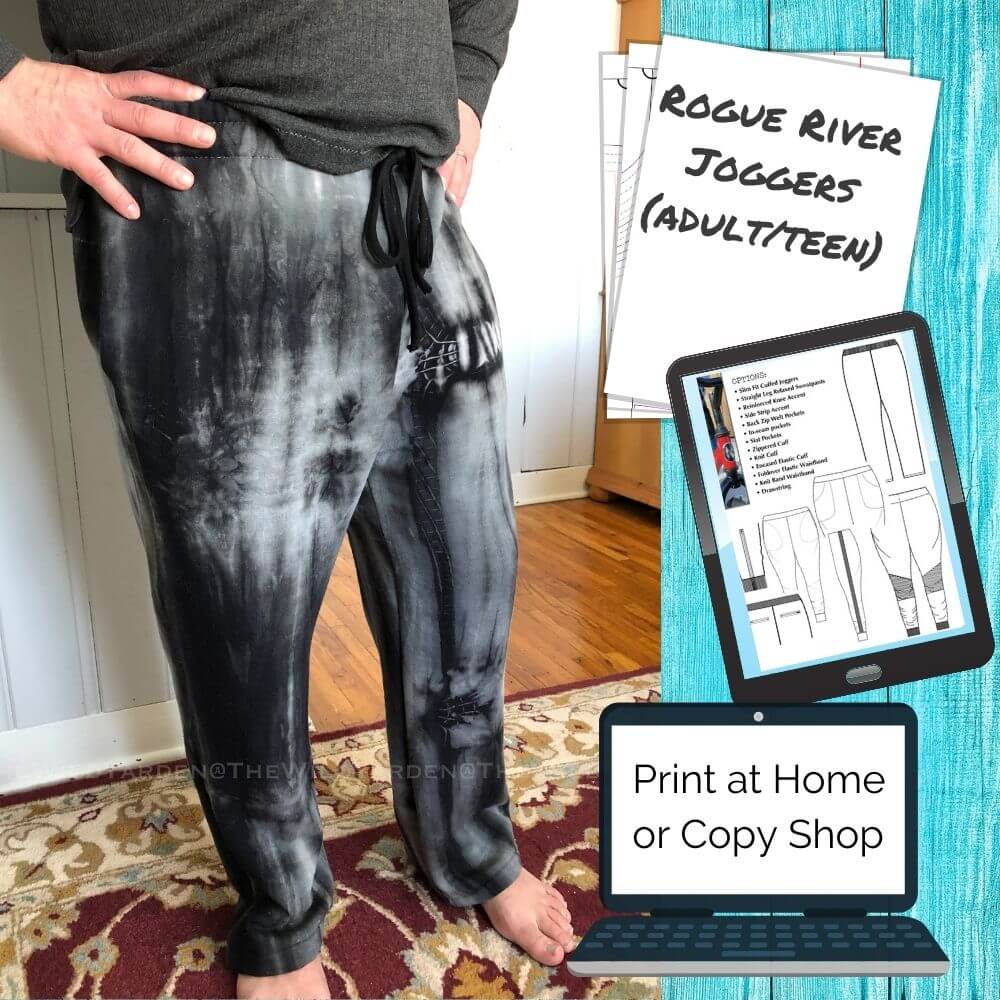
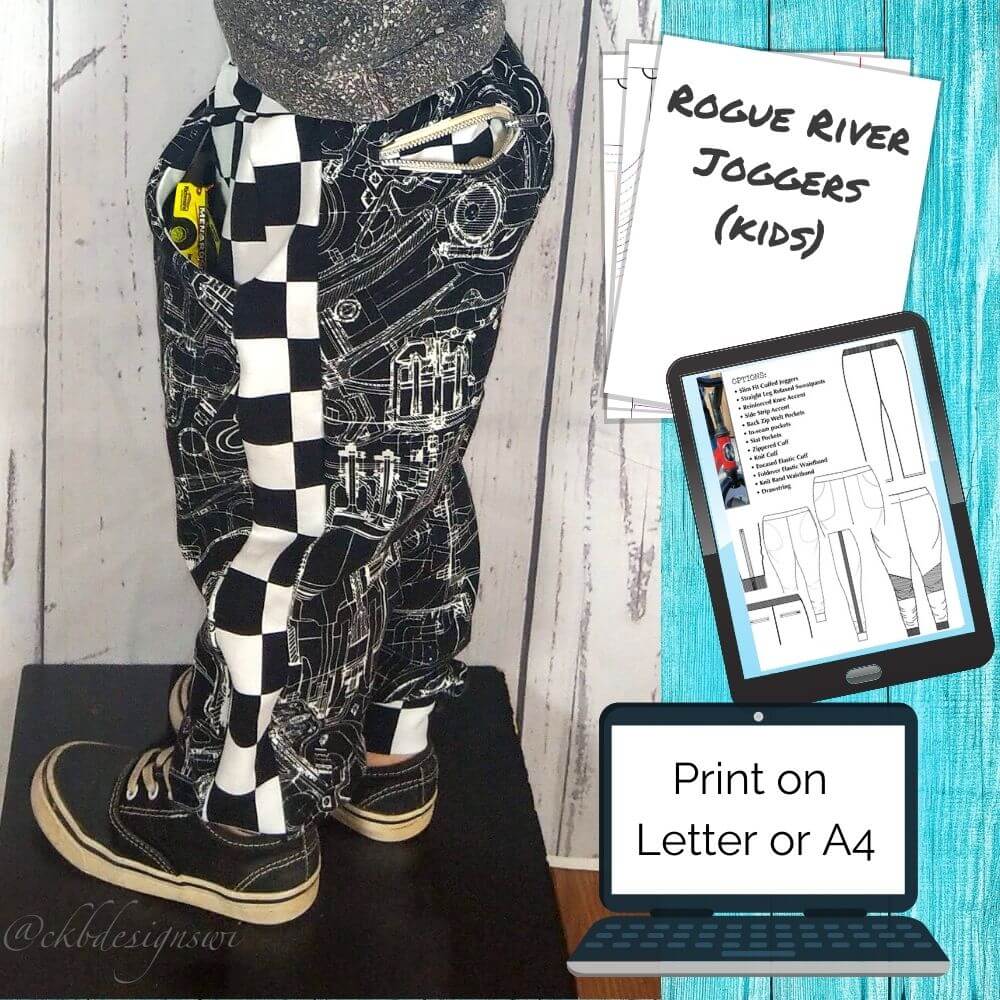
This tutorial (with extra details and pictures) was created by our fantastic team member Keri as a supplement to the instructions in the Rogue River Joggers pattern (for adults or kids), but this method could be used for any pattern with an elastic waist created by folding down the top of the pants (with no separate waistband piece).
The elastic should be cut to the same measurement as the recipient's low waist (where they like to wear their pants). If you cannot measure them, check the pattern size chart for a low waist measurement and use that, or the elastic measurement provided by your pattern. The Rogue River Joggers provide a measurement that is the same as the low waist on the size chart.
The drawstring should be cut to the same length PLUS 30" (76 cm). So if the low waist measurement is 38", you would cut the drawstring to 68". Note, this is for an adult - for a child you may wish the drawstring to be shorter, and please follow your local safety regulations regarding drawstrings and children.
Sew your pants crotch and leg seams as per normal. Then, you'll need to apply your grommets or make your buttonholes on either side of the front crotch seam.
First, mark your placement (see notes below on placement), and then apply two small squares of fusible interfacing to the wrong side of fabric at your placement marks (following the direction for your brand of interfacing). The interfacing squares should be slightly larger than the intended buttonhole/grommet size. Then apply your grommets (following the directions for your brand of grommets) or sew your buttonholes (following the directions from your sewing machine manual).
How far down you place the holes will depend on what size of elastic your pattern calls for. The Rogue River Joggers uses 2" elastic, and suggests placing the grommets/holes 3 1/4" down from the top edge of the fabric, and 1 1/4" horizontally from the seam on either side (the horizontal distance is personal preference).
Basically, in order for the holes to be in the center of your elastic, the vertical distance should be 1.5X the height of your elastic. This method include some topstitching above the holes though, so they are placed lower on the elastic to be centered between the two topstitching lines.
For 1" elastic, I would place them approximately 1 5/8"-1 3/4" down (but please note that using 1" elastic will not leave you much room to topstitch above the grommets/buttonholes).
If your pattern calls for 1" elastic and you'd like to use 2" elastic, simply add 2" to the top of your pants pattern pieces, all the way around. NOTE: This will make the waistband taller than it was - if you prefer to keep it at the original height (for where it sits on the body) but move the bottom of the elastic area down closer to the crotch, only add 1".
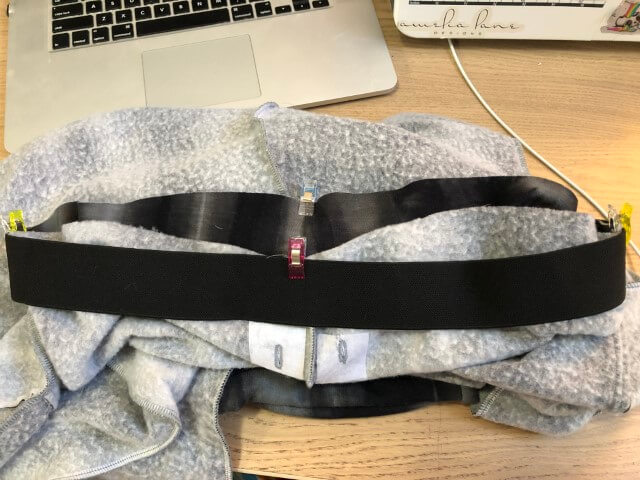
Overlap the edges of your elastic by 1/2" (1.3 cm) and stitch them together securely - a box stitch as shown below works very well.

First, divide the elastic evenly into quarters (using the overlapped edges as one of the marks), as shown below.

Pin or clip elastic to the coordinating front, back, and side seams at quarters on the wrong side of fabric.
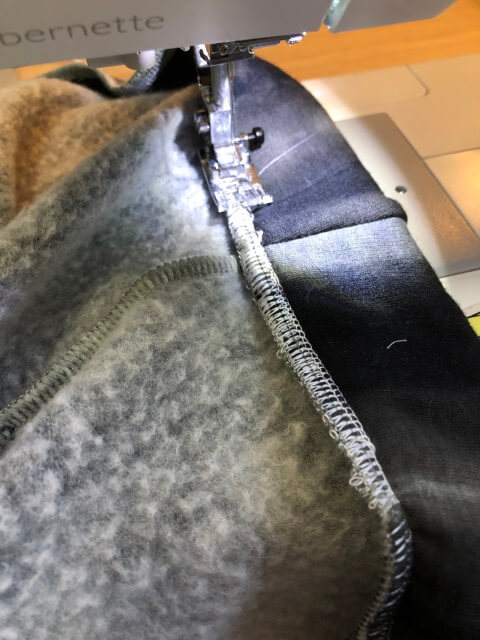
Serge together or sew using a stretch stitch. Be sure to pull the elastic while attaching so it matches up evenly with the fabric. If using a serger, I recommend disengaging the blade to make sure the elastic doesn’t accidentally get clipped.

Fold the elastic down toward wrong side so that it is fully enclosed. Using a stretch stitch, sew all the way around the waistband along the bottom edge of the elastic. Be sure to pull elastic again so it is stretched evenly with the fabric. Sew all the way around the waistband.
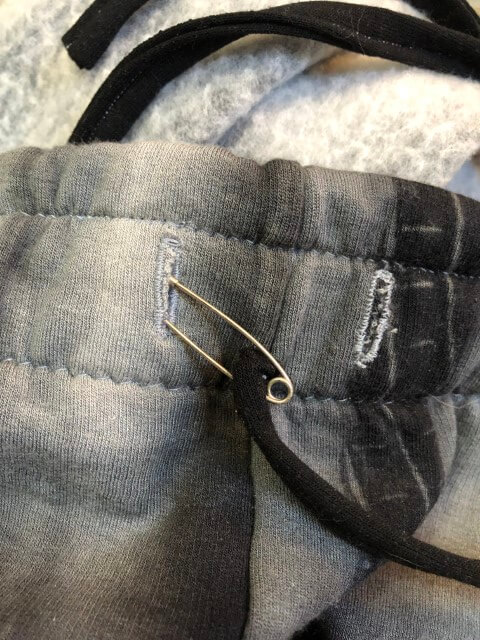
To create a casing for the drawstring, stitch along the elastic above your buttonholes or grommets.

After the stitching is done, you can use a safety pin to pull your drawstring through.
And that's it! Now you have a fabulous elastic waistband with a drawstring! Check out the Rogue River Joggers pattern, on sale this week (Mar 1-8), for both adults and kids.
Very clear instructions. Thank you so much!