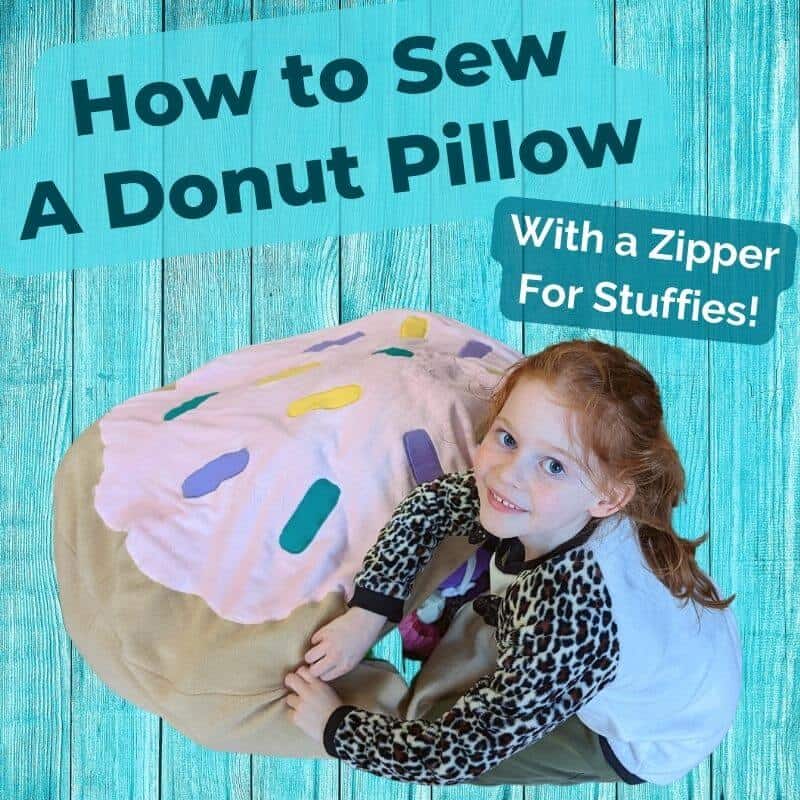
In today's tutorial, we will be making this adorable zippered donut pillow. It's big enough to store all of your kids' stuffies, and the best part is that it turns into a huge, soft pillow when it's full! This tutorial will take you through the tutorial step by step, but if you prefer to watch the video tutorial, you can find that here!

Materials:
-A circle pattern of your choice. You can use almost any circular pattern piece (such as a circle
skirt or poncho) in the size that works best for what you want. I used this one!
-Fabric of your choice: I used fleece for my main fabric and minky for the icing on the donut
Method:
You have two options for this project:
● A plain stuffie pillow or
● A donut pillow
Let’s go!
If you are not making the donut cushion, you can skip to step 13.
Donut Option:
2. Cut out one extra circle, slightly smaller, with wavy edges so it looks like icing.

3. Place the icing on top of one of the circles and pin it down well (these fabrics like to
stretch out of place, so use plenty of pins!). If you have spray adhesive, it will also work
well to reduce the movement.
4. Sew around the edge of the icing using a tight zig-zag to keep the Minky from fraying.
5. If it’s really wavy once you’ve sewn it, you can iron it to help. Just make sure you use a
pressing cloth so you don’t melt your minky!
Sprinkles:
6. Draw a rectangle with rounded edges onto a piece of cardstock and cut it out.
7. Trace the template onto heat n bond lite adhesive.
8. Cut out the sprinkles, leaving some space around the edges
9. Iron them onto a piece of scrap fabric, in the color you want to use
10. Cut carefully around each sprinkle and place it on the icing layer

11. Once they are all placed where you want them, carefully remove the backing of each
sprinkle and iron it down (using a pressing cloth).
12. Stitch around each sprinkle with a tight zig-zag stitch to complete the applique process.

Pillow assembly:
13. Place the two large circles on top of each other and cut a series of triangles around the
edges (careful not to snip into the icing layer!) to create a more defined circle shape as
you sew.

14. Sew each triangle together from the wrong side of the fabric to create darts.
Now it’s time to sew the two halves of the cushion together!
15. Line the zipper up where you want it and use wash-away tape to hold it in place as you
sew. Make sure it will be lined up in the same place on the top and bottom half of the
cushion so that the darts line up properly.

16. Sew one side of the zipper down

17. Sew the other half of the zipper to the second circle, making sure the right sides of the
circles are facing each other.
18. Sew the two circles all the way around.
19. When it comes to the edges of the zipper, make sure to increase the seam allowance so
the edges sew together nicely and don’t leave any zipper tape sticking out.
20. Open the zipper (it might be a little tricky to start it inside out!), and then turn the project
right sides out.
That’s it, you’re done!

This project is simple enough that your kids can help with some of the steps, and if you make it
big enough, they might even fit inside!

If you make your own pillow, leave a comment and a photo below, or tag us on Instagram!