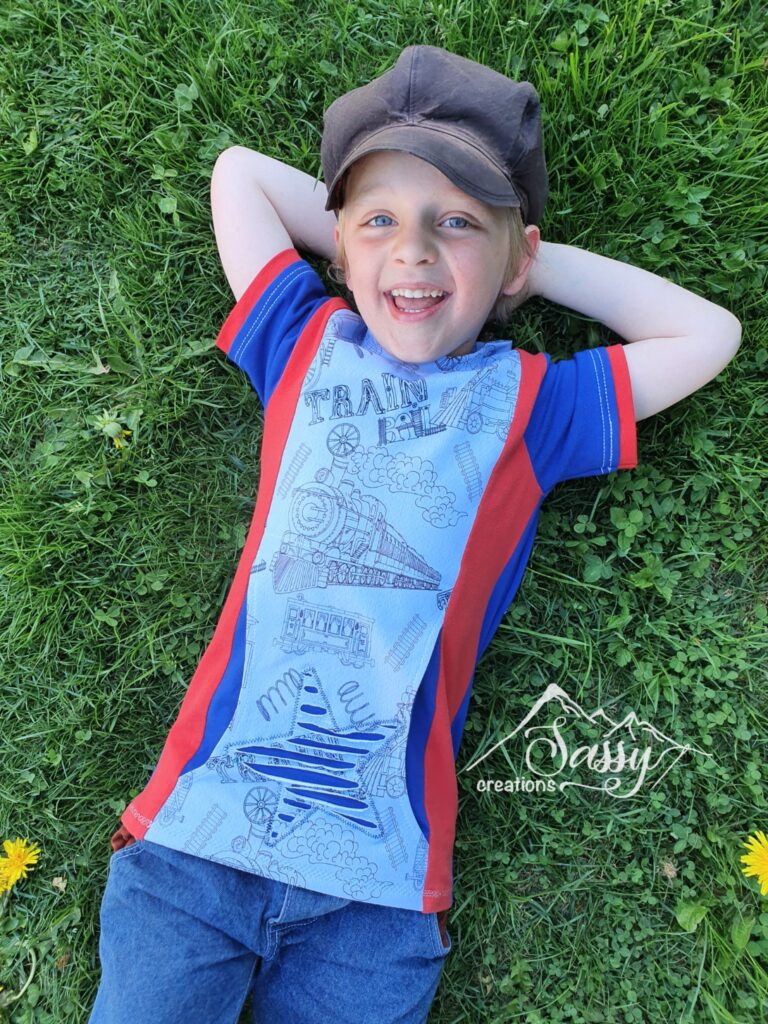
Hi there! I'm Anisha from SASSY Creations (find my page on Facebook, or find me on instagram with the handle @sassycreationsbyanisha). I'm excited to show you how I did the star reverse Appliqué on the front pocket of the Go! T-Shirt and Tank by Kelly J Designs. This is a fun, unisex top with colour blocking on the front and a creative and cool way of adding a kangaroo style pocket. My son just couldn't keep his hands out of that pocket haha!
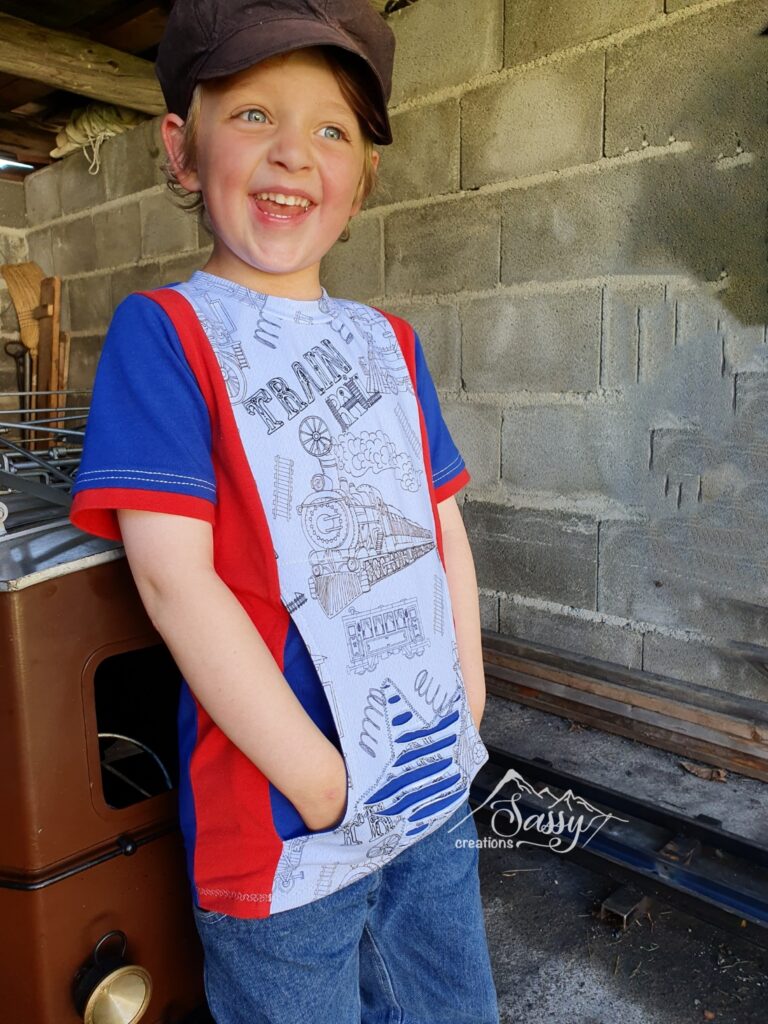
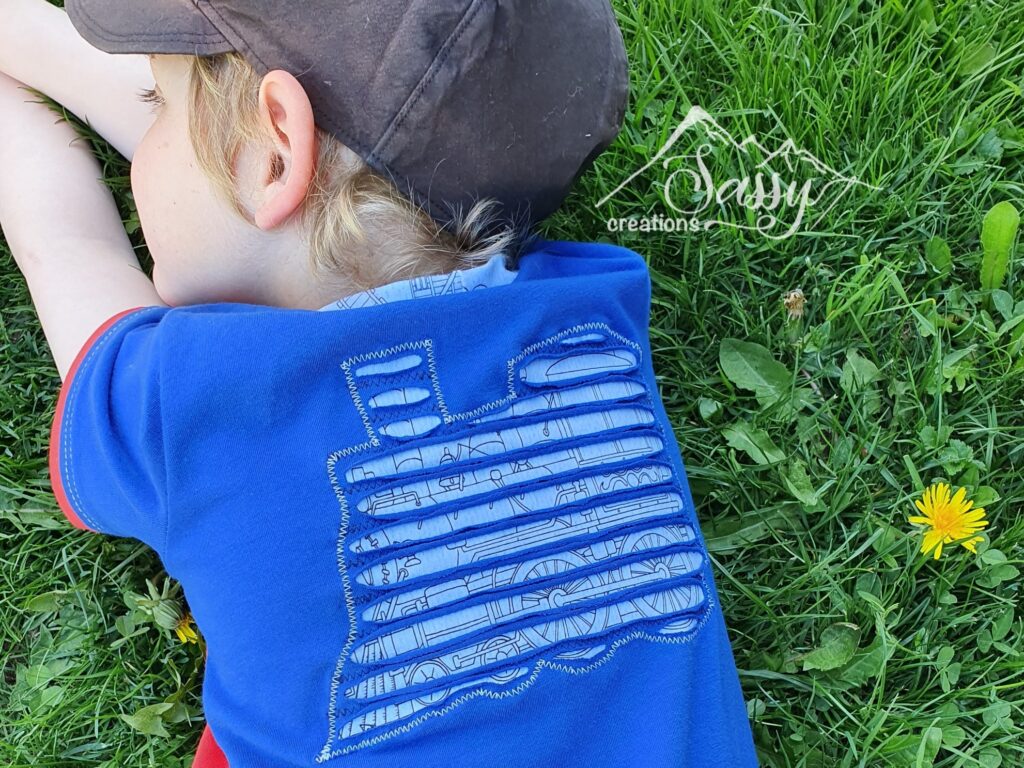
After having shared another reverse appliqué I did in this style and having received a few requests to do a tutorial, I figured, why not? And since some of the requests were for a video tutorial, I decided to do two separate appliqués to make 2 separate tutorials. In this tutorial I will explain how I did the star appliqué on the front, which is slightly different than the train on the back because the pocket lining provides the backing for the appliqué. On the train (back appliqué) the backing piece is cut out and sewn on separately, making it simple to apply to most any knit garment. Check out the video here for more on that. The method in this tutorial can easily be applied to any knit garment with a lining.
Alrighty, let's get started! You will need to follow the instructions up to Step 4 in the tutorial, having the pocket pieces attached with optional topstitching, and the pocket backing still flipped up.
I have my star template here, cut out and ready to trace onto my main fabric. You can get my hand drawn printable templates FREE here! There is a star, heart, and train.
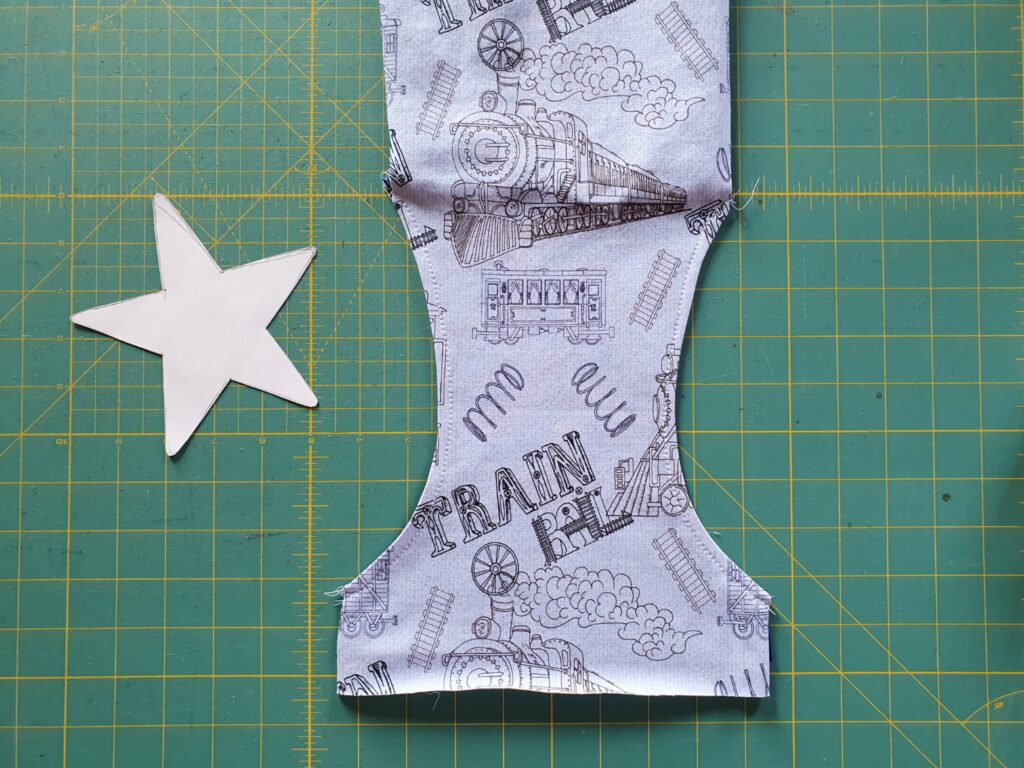
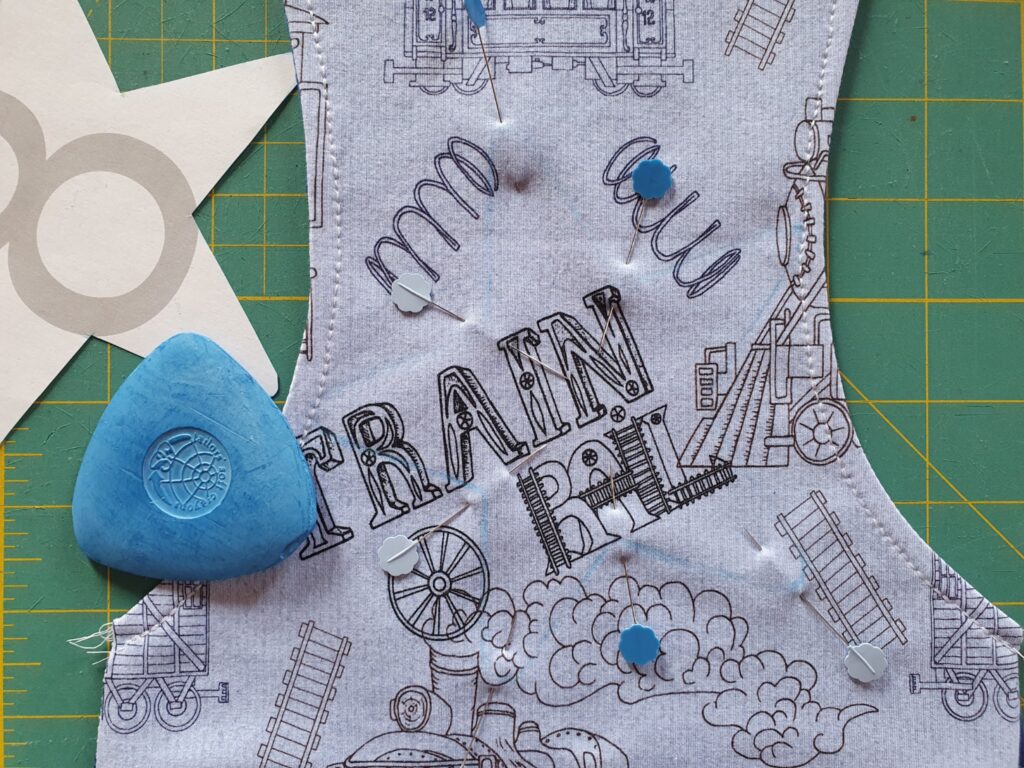
Trace your template onto the right side of the pocket piece using a washable pen/disappearing marker/chalk/what-have-you. My chalk line is a bit faint in the photo here, sorry! You may want to pin the pocket lining to the main fabric so that you don't get any bunching or slipping of the layers while sewing. Also, if you have a walking foot, this is a great time to whip it out. If you don't, no worries, just go slowly and check periodically that the layers are feeding through evenly and not bunching. Sew along your traced line with a zig zag or other stretch stitch of your choice.
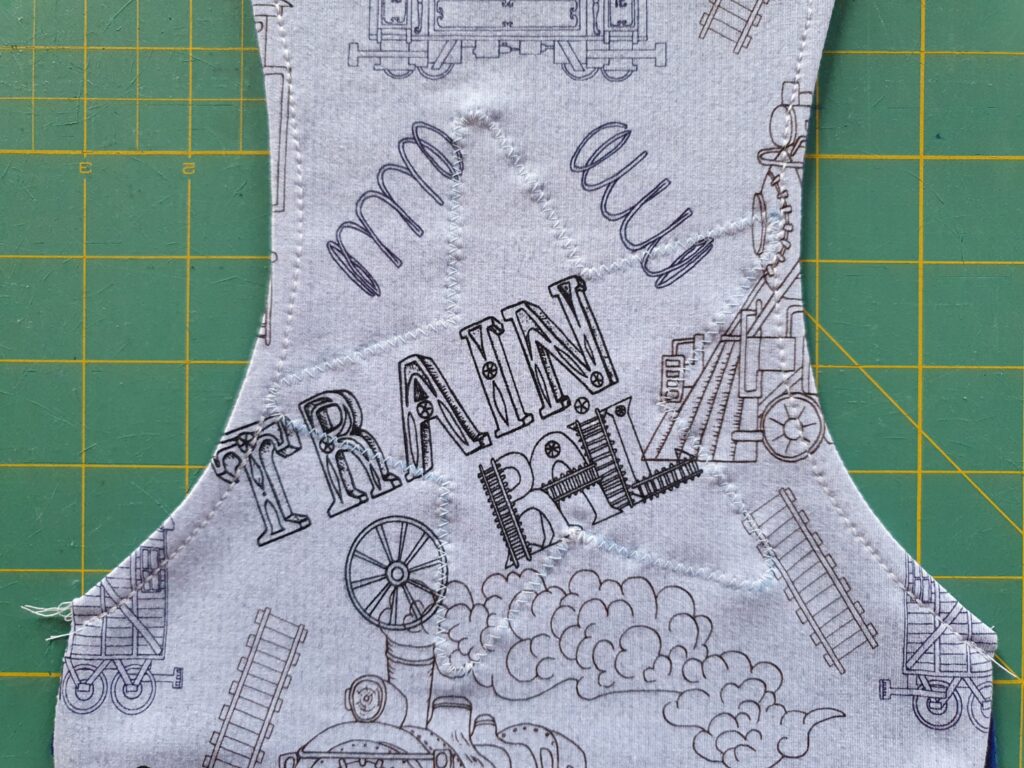
All sewn. It is definitely worth noting that you may want to use a contrasting thread colour when you do this step. This will make the end result really pop. For the horizontal lines across the appliqué you can use a matching or contrasting thread, depending on the look you're going for.
Now it's time to draw the horizontal lines along which we will be sewing. I like to do these a 1/2" apart, as I find that it gives a good ratio of visibility of the main and backing fabrics. This is of course entirely up to you, though! You can also have your cross-lines at an angle, but in order to get maximum curl on your main fabric, you will want to draw the lines perpendicular to the fabric grain.
Line up the center front piece with the grid on your cutting mat. Use an acrylic ruler - or just a long ruler - and line it up with the grid as well. When drawing in your lines, line up your ruler with the grid of the cutting mat. Lining up with the lines you've already drawn may result in them skewing slightly.
After your lines are traced every 1/2", it's time to sew them! Use the same stitch you used for the outline, using a matching or contrasting thread.
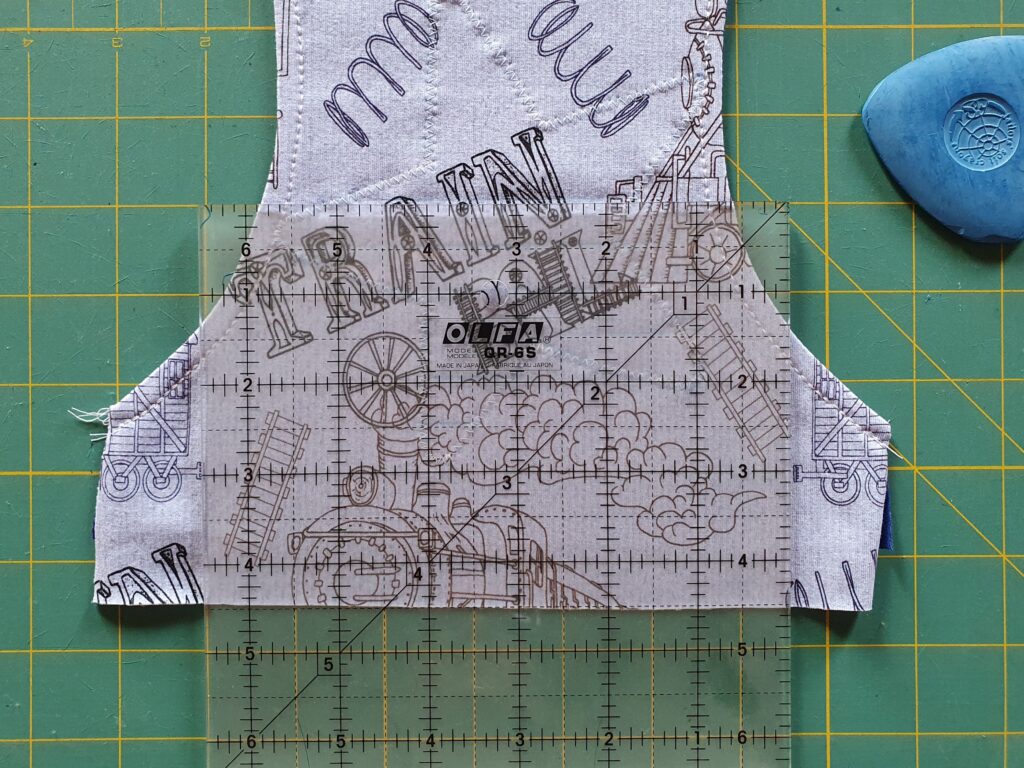
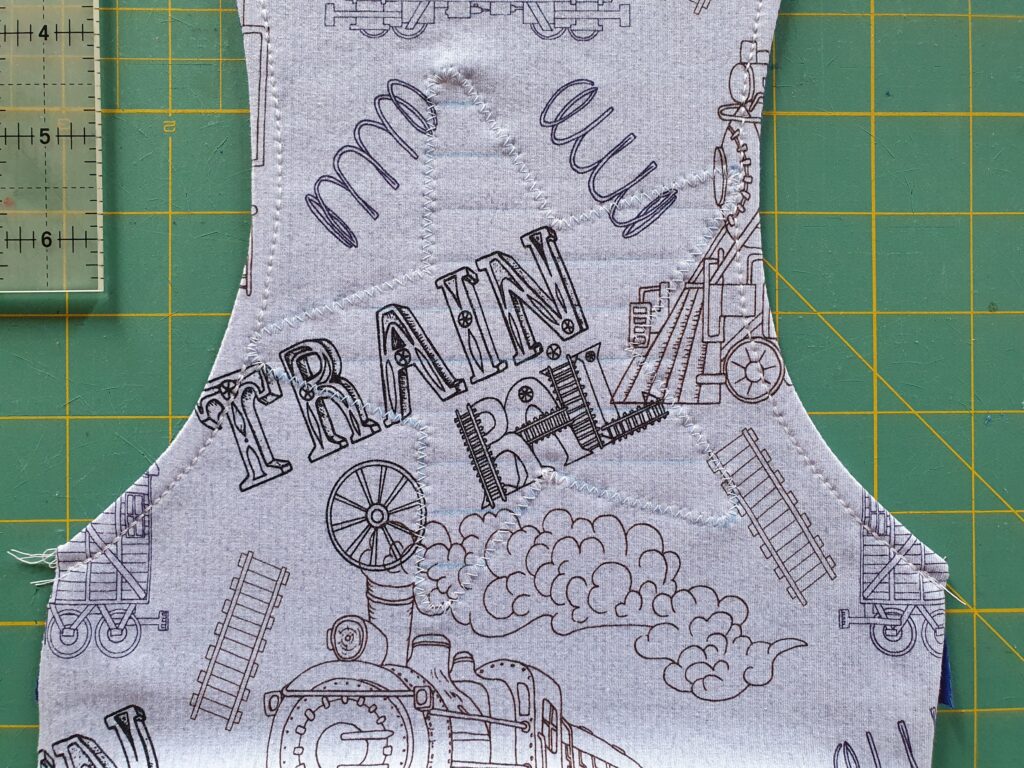
After sewing the cross lines, your seams may be a bit wavy. To combat this, give it a good steam and a little press.
Time to cut out the centers!
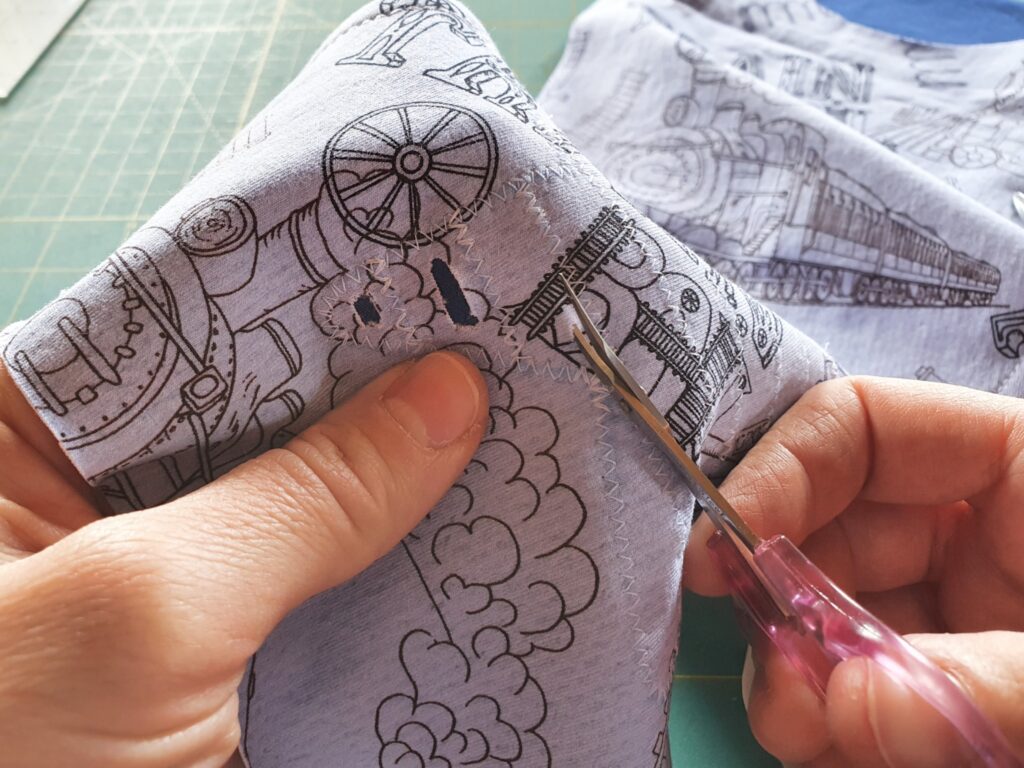
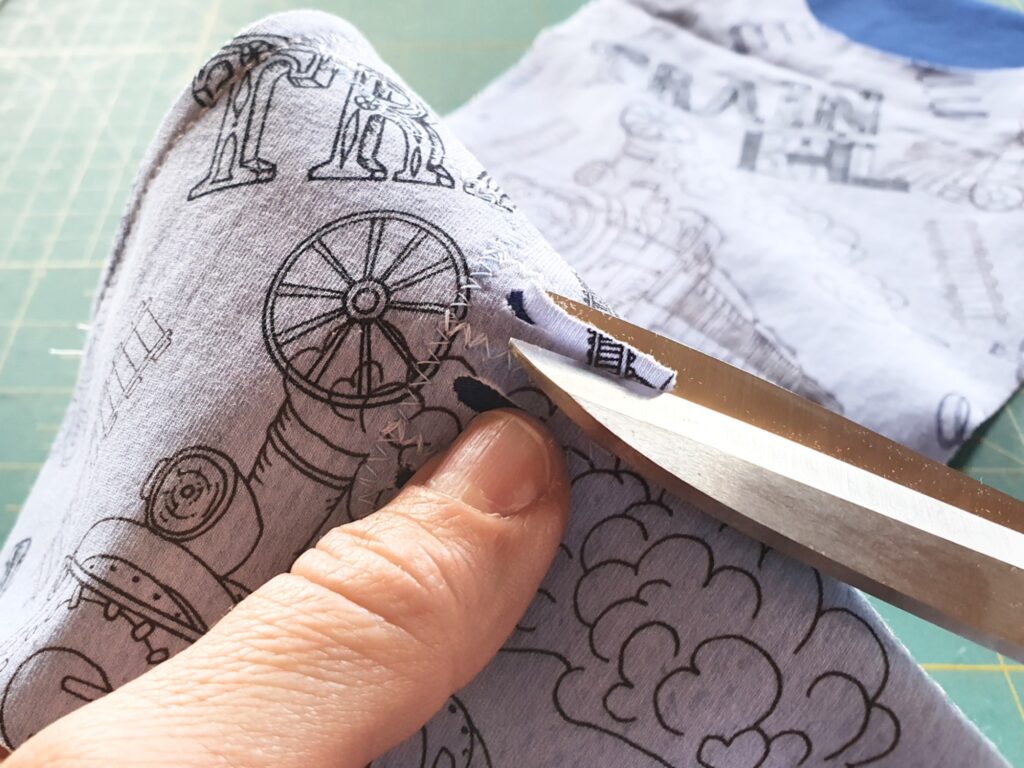
I use little thread snipper scissors to make a little hole just big enough to then slip my larger fabric scissors through.
Cut along beside the sewn line, leaving about 1/8th to 1/4 inch of fabric. When you get to the other side, turn, making a nice round end, and continue back down the other side in the same way.
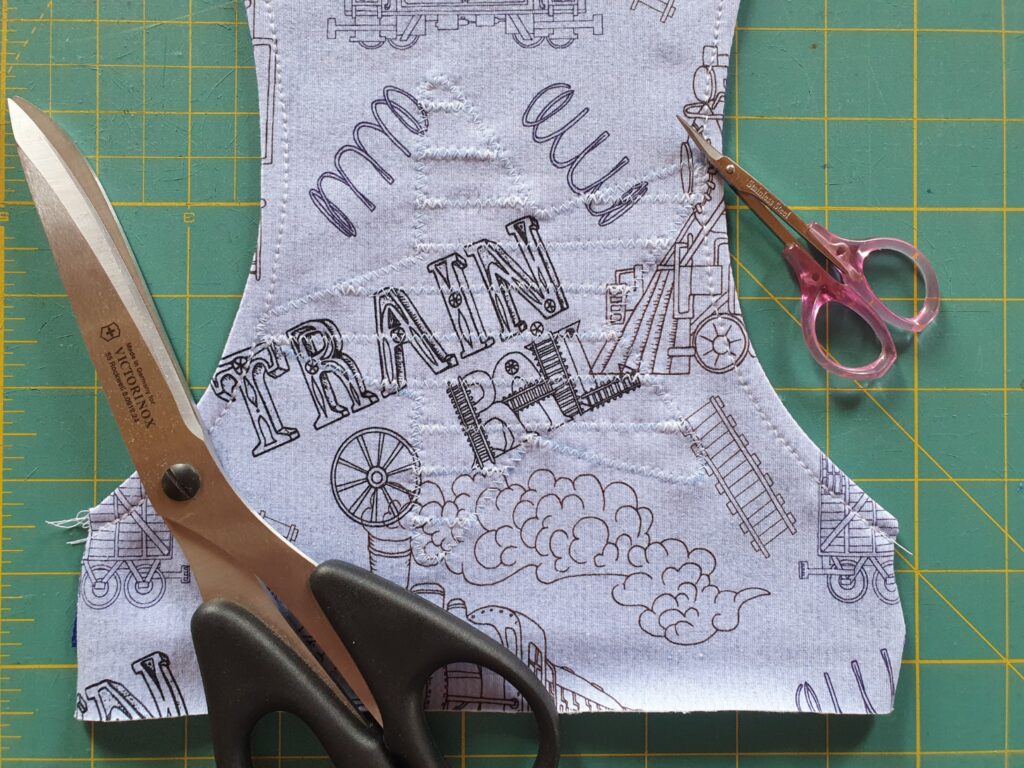
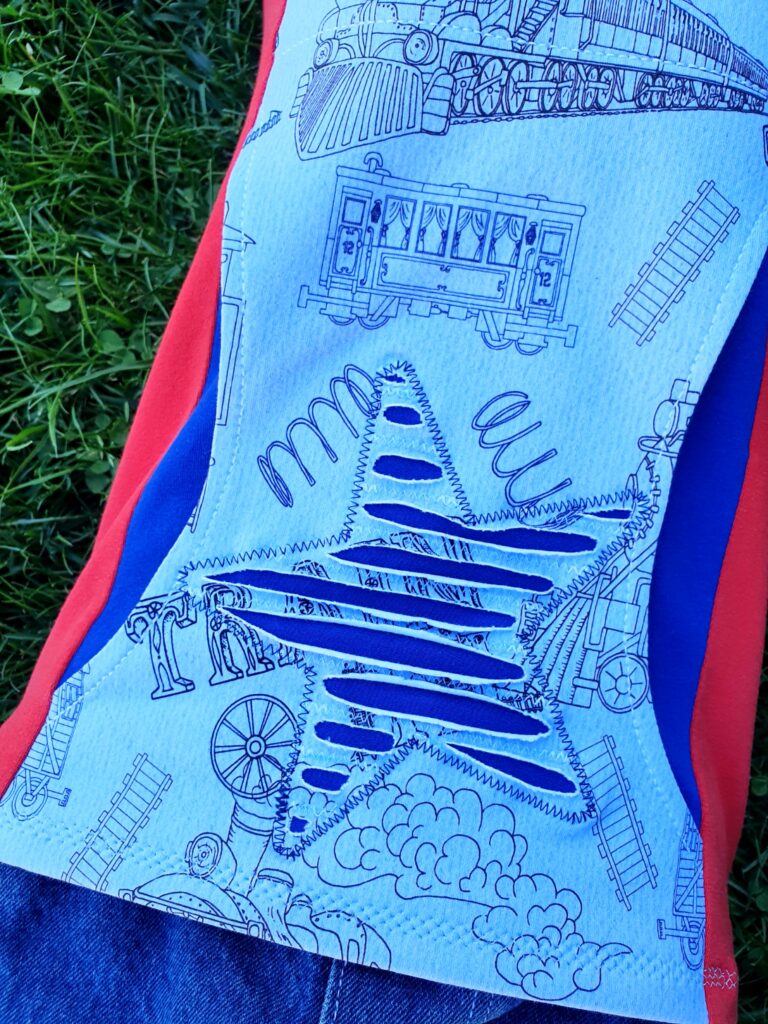
This will give you something like the first image below. You've cut long ovals out of the spaces between the stitching, and the raw edges are still laying relatively flat.
Give it a good steam, which will help those edges to really curl up. They will likely curl up more with regular washing, as well. Running your hand over it while it's still steamy can help with curl, as well.
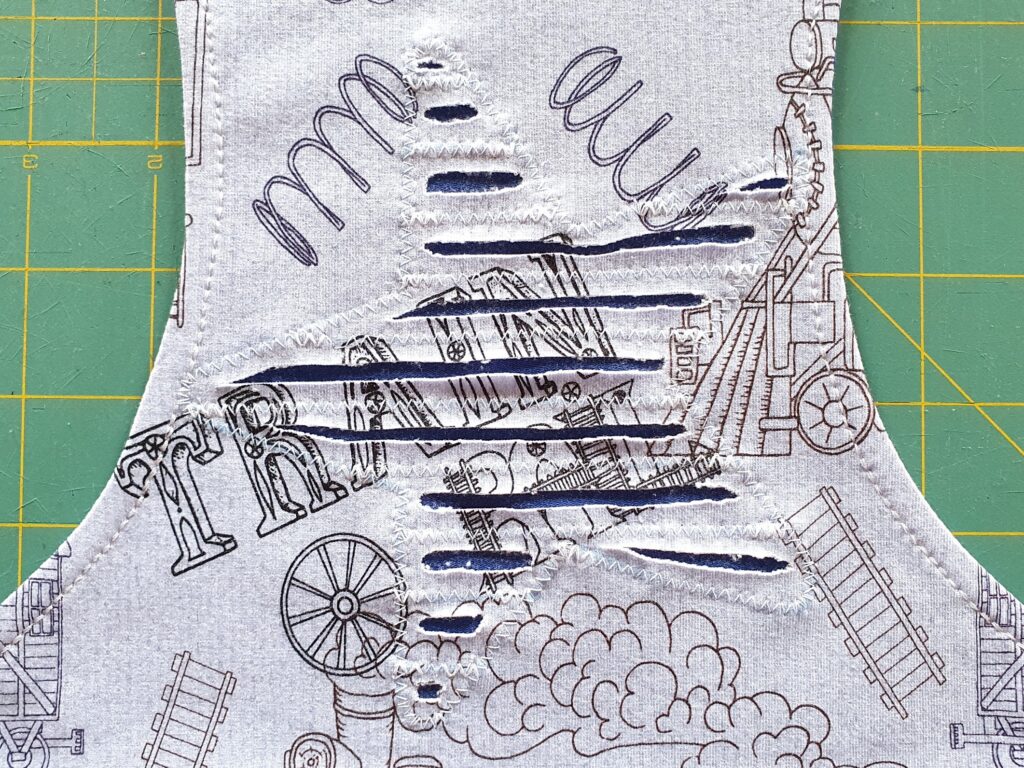
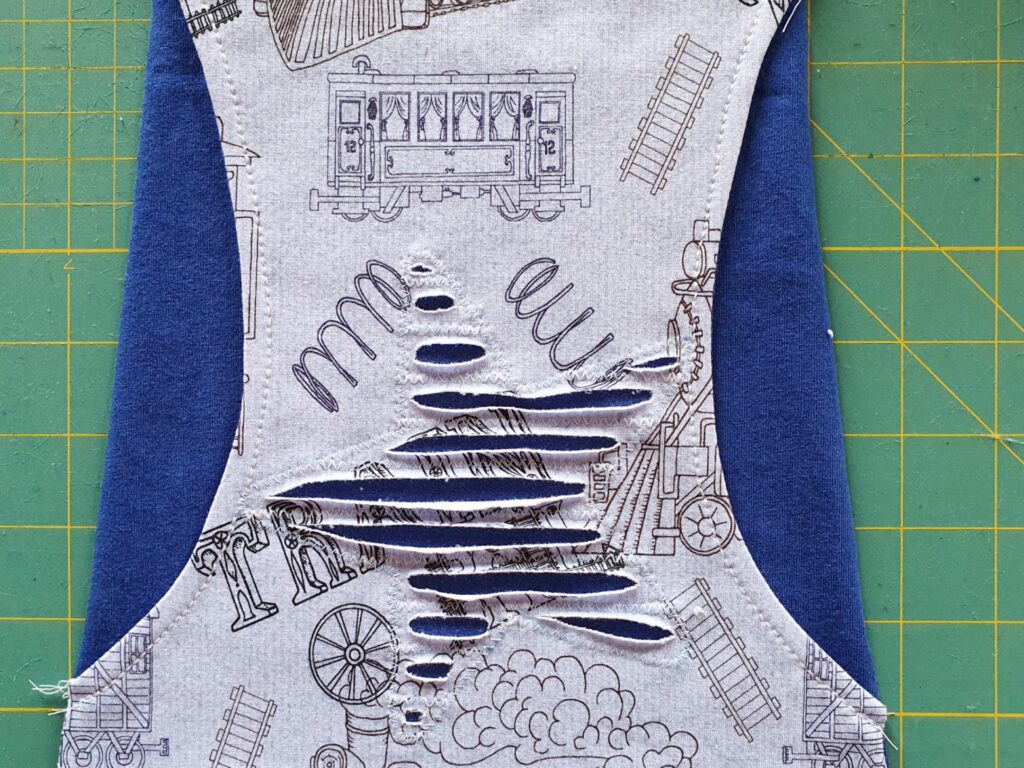
And you're done! That was super easy, right?? Well OK, cutting out those center bits was a little nerve-wracking; trying to make sure not to snip the lining fabric with the main! But totally worth it, right? 😀
Below you can see I went back and stitched over my original white outline with dark blue to get the star to pop, and generally to be more recognizable as a star, hahaha!
Now you can head back over to the tutorial and continue from Step 5 to finish your shirt!
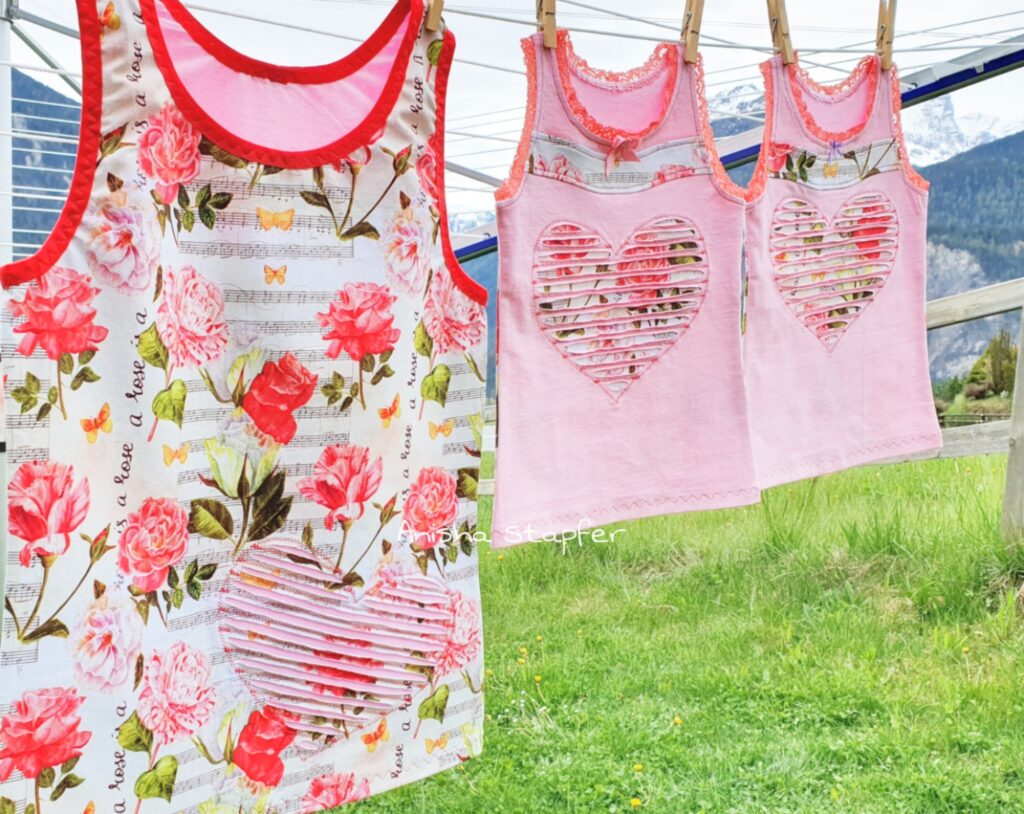
Thank you so much for checking out this little tutorial, and I hope to be able to share something or other with you again in the future! If you try this technique, I would love to see your creation; please feel free to share in my Facebook group <SASSY Creations DIY Fun>! Check out a few more pictures of my reverse applique creations below - you can use these appliques on just about any pattern, including the selection over in the Sew PDF shop!
